Table of Contents
How to Solder Wires Together
Soldering wires together is a requisite skill for practically every electronics project. Properly soldered joints are mechanically strong, electronically solid and extremely durable. Improperly soldered joints can cause an array of problems, from increased electrical noise to decreased signal to no signal at all.
Stripping the Wires
Depth
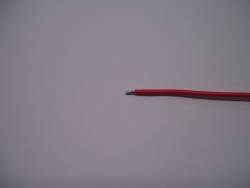
To properly join two sires using solder, the wire should be have at least 1/4” of its conductor exposed. Novices may find it easier to remove 1/2” to 1” of the insulator and twist the two wires together before soldering.
Automatic Wire Strippers
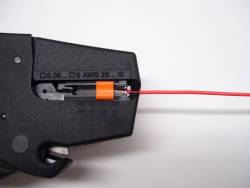
The insulation on each of the two wires must be stripped in order to expose the conductor. We like automatic wire strippers, but good pairs are expensive. Furthermore, they may not be suitable for larger wires, coaxial or multi-conductor cable.
To operate automatic wire strippers, insert the wire into the jaw of the device, then squeeze the handles. You may have to adjust the wire strippers' pressure setting if it doesn't strip the wire, or it gouges the conductor.
Manual Wire Strippers
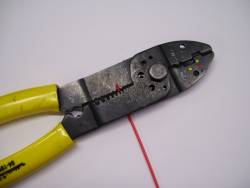
Manual wire strippers work just as well. Simply find the notch corresponding to the wire's size and composition. Most wires in our Megasquirt wiring harnesses are stranded 20AWG wires. Insert the wire into the notch, squeeze the handles of the wire stripper together. Slightly release your grip, then pull the wire out.
Joining the Wires
Soldering
Materials
- 25W or more pencil soldering iron
- Standard 63% tin/37% lead solder
- Moist sponge
Technique
Activate your soldering iron, allowing enough time for it to heat. Twenty five or thirty five watt pencil soldering irons are sufficient for 20AWG wires, though you may find larger pencil irons or full soldering stations better for lager wires, such as 12AWG or 14AWG.
Once the iron is thoroughly heated, “tin” the tip by melting an ample amount of solder on the it. Then, wipe the the tip of the iron on a moistened sponge. Tinning cleans the tip and prepares it for soldering wires or components.
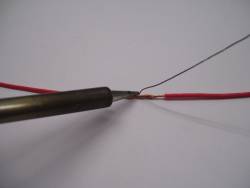
Once the tip is tinned, place it directly on the wire(s) to be soldered. After two to three seconds, insert solder at the junction between the tip of the soldering iron and the wire.
Twisting
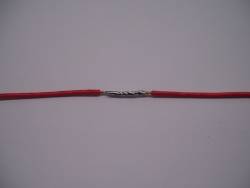
One method for joining wires involves stripping a longer length of insulation from each wire. Then twist the wires together, before soldering. Since the wires are already held together, this method is particularly well suited for novices.
Tinning
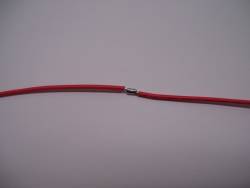
Another method for joining wires involves “tinning,” or applying solder to each wire first. Next, place the two wires in contact with one another before melting the solder and creating the joint.
Cold Solder Joints
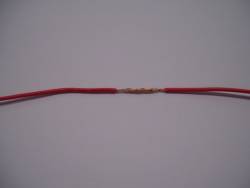
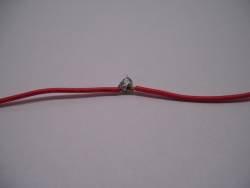
A proper solder joint looks bright and shiny. Poor, “cold” solder joints have a dull appearance and are not electrically or mechanically sound.
